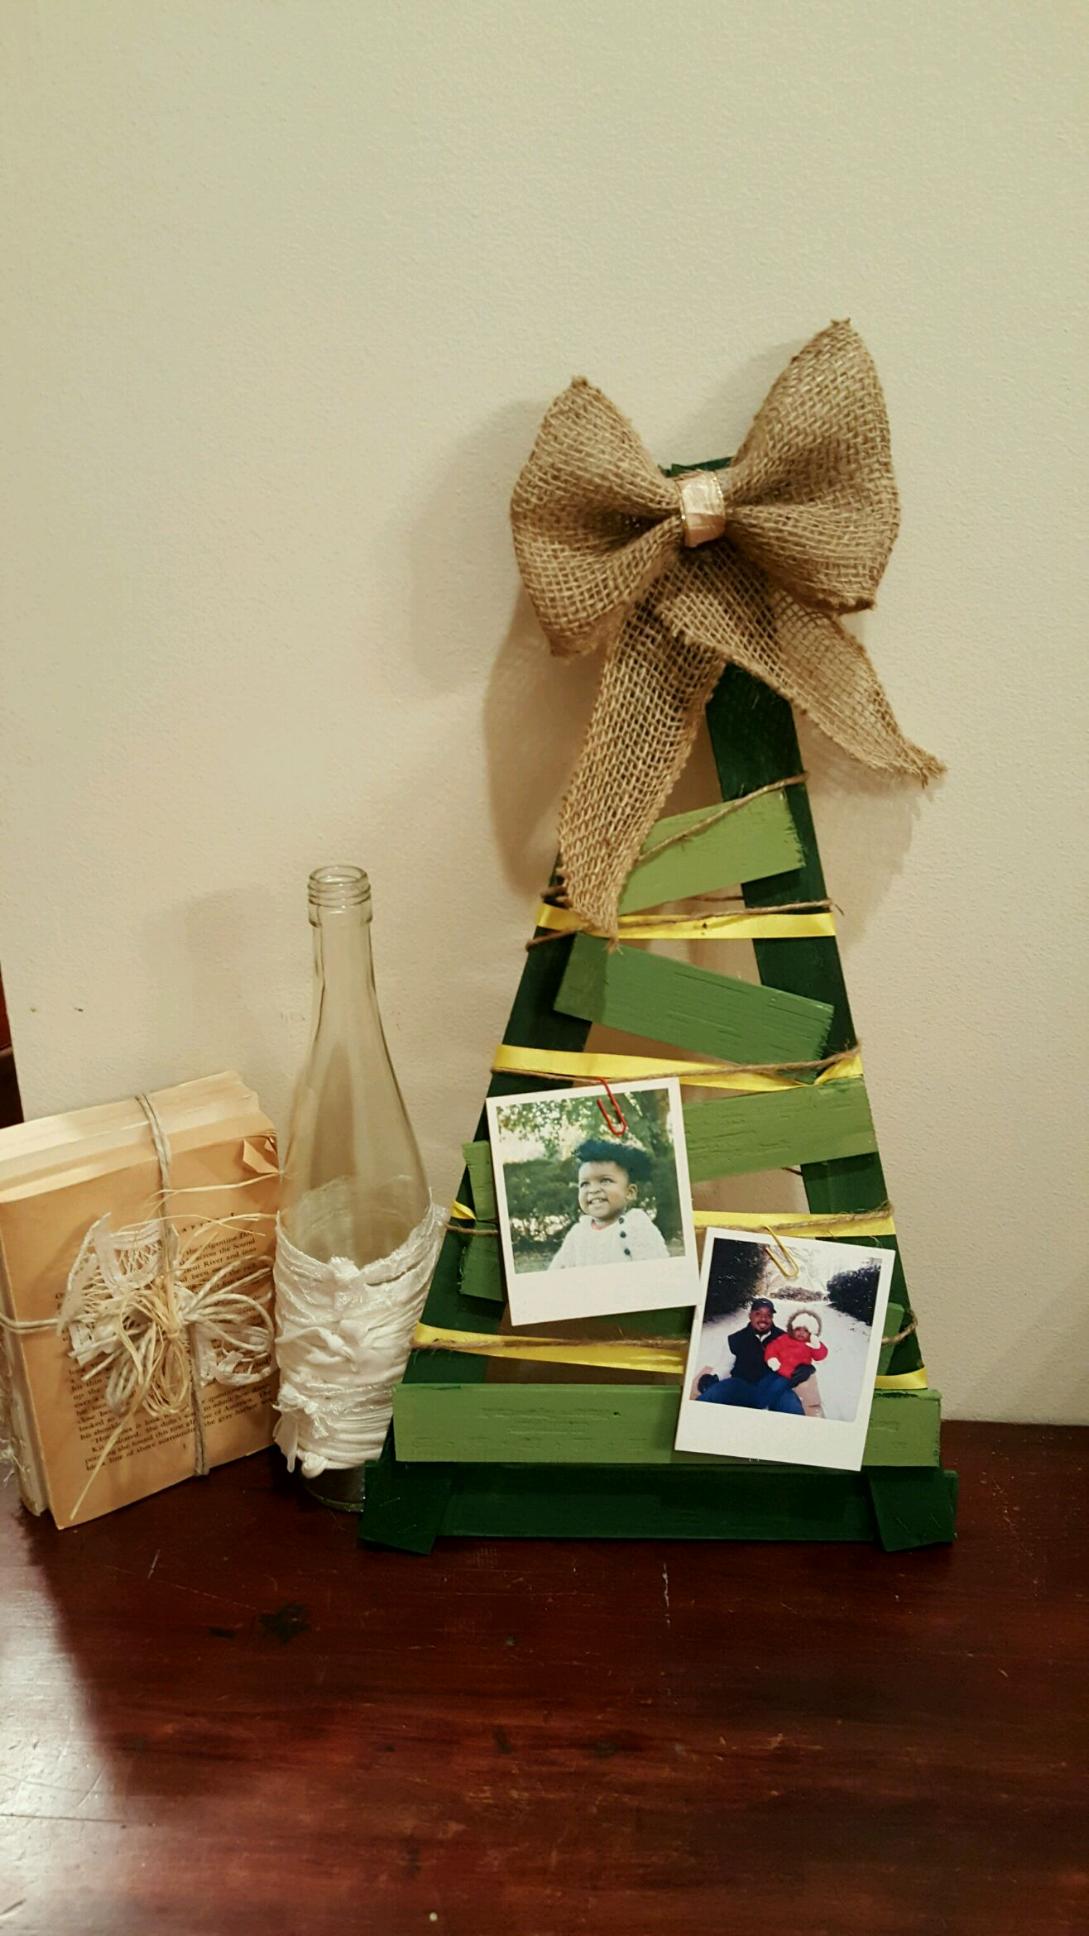
Nashville Public Television Interview with Tennessee Crossroads
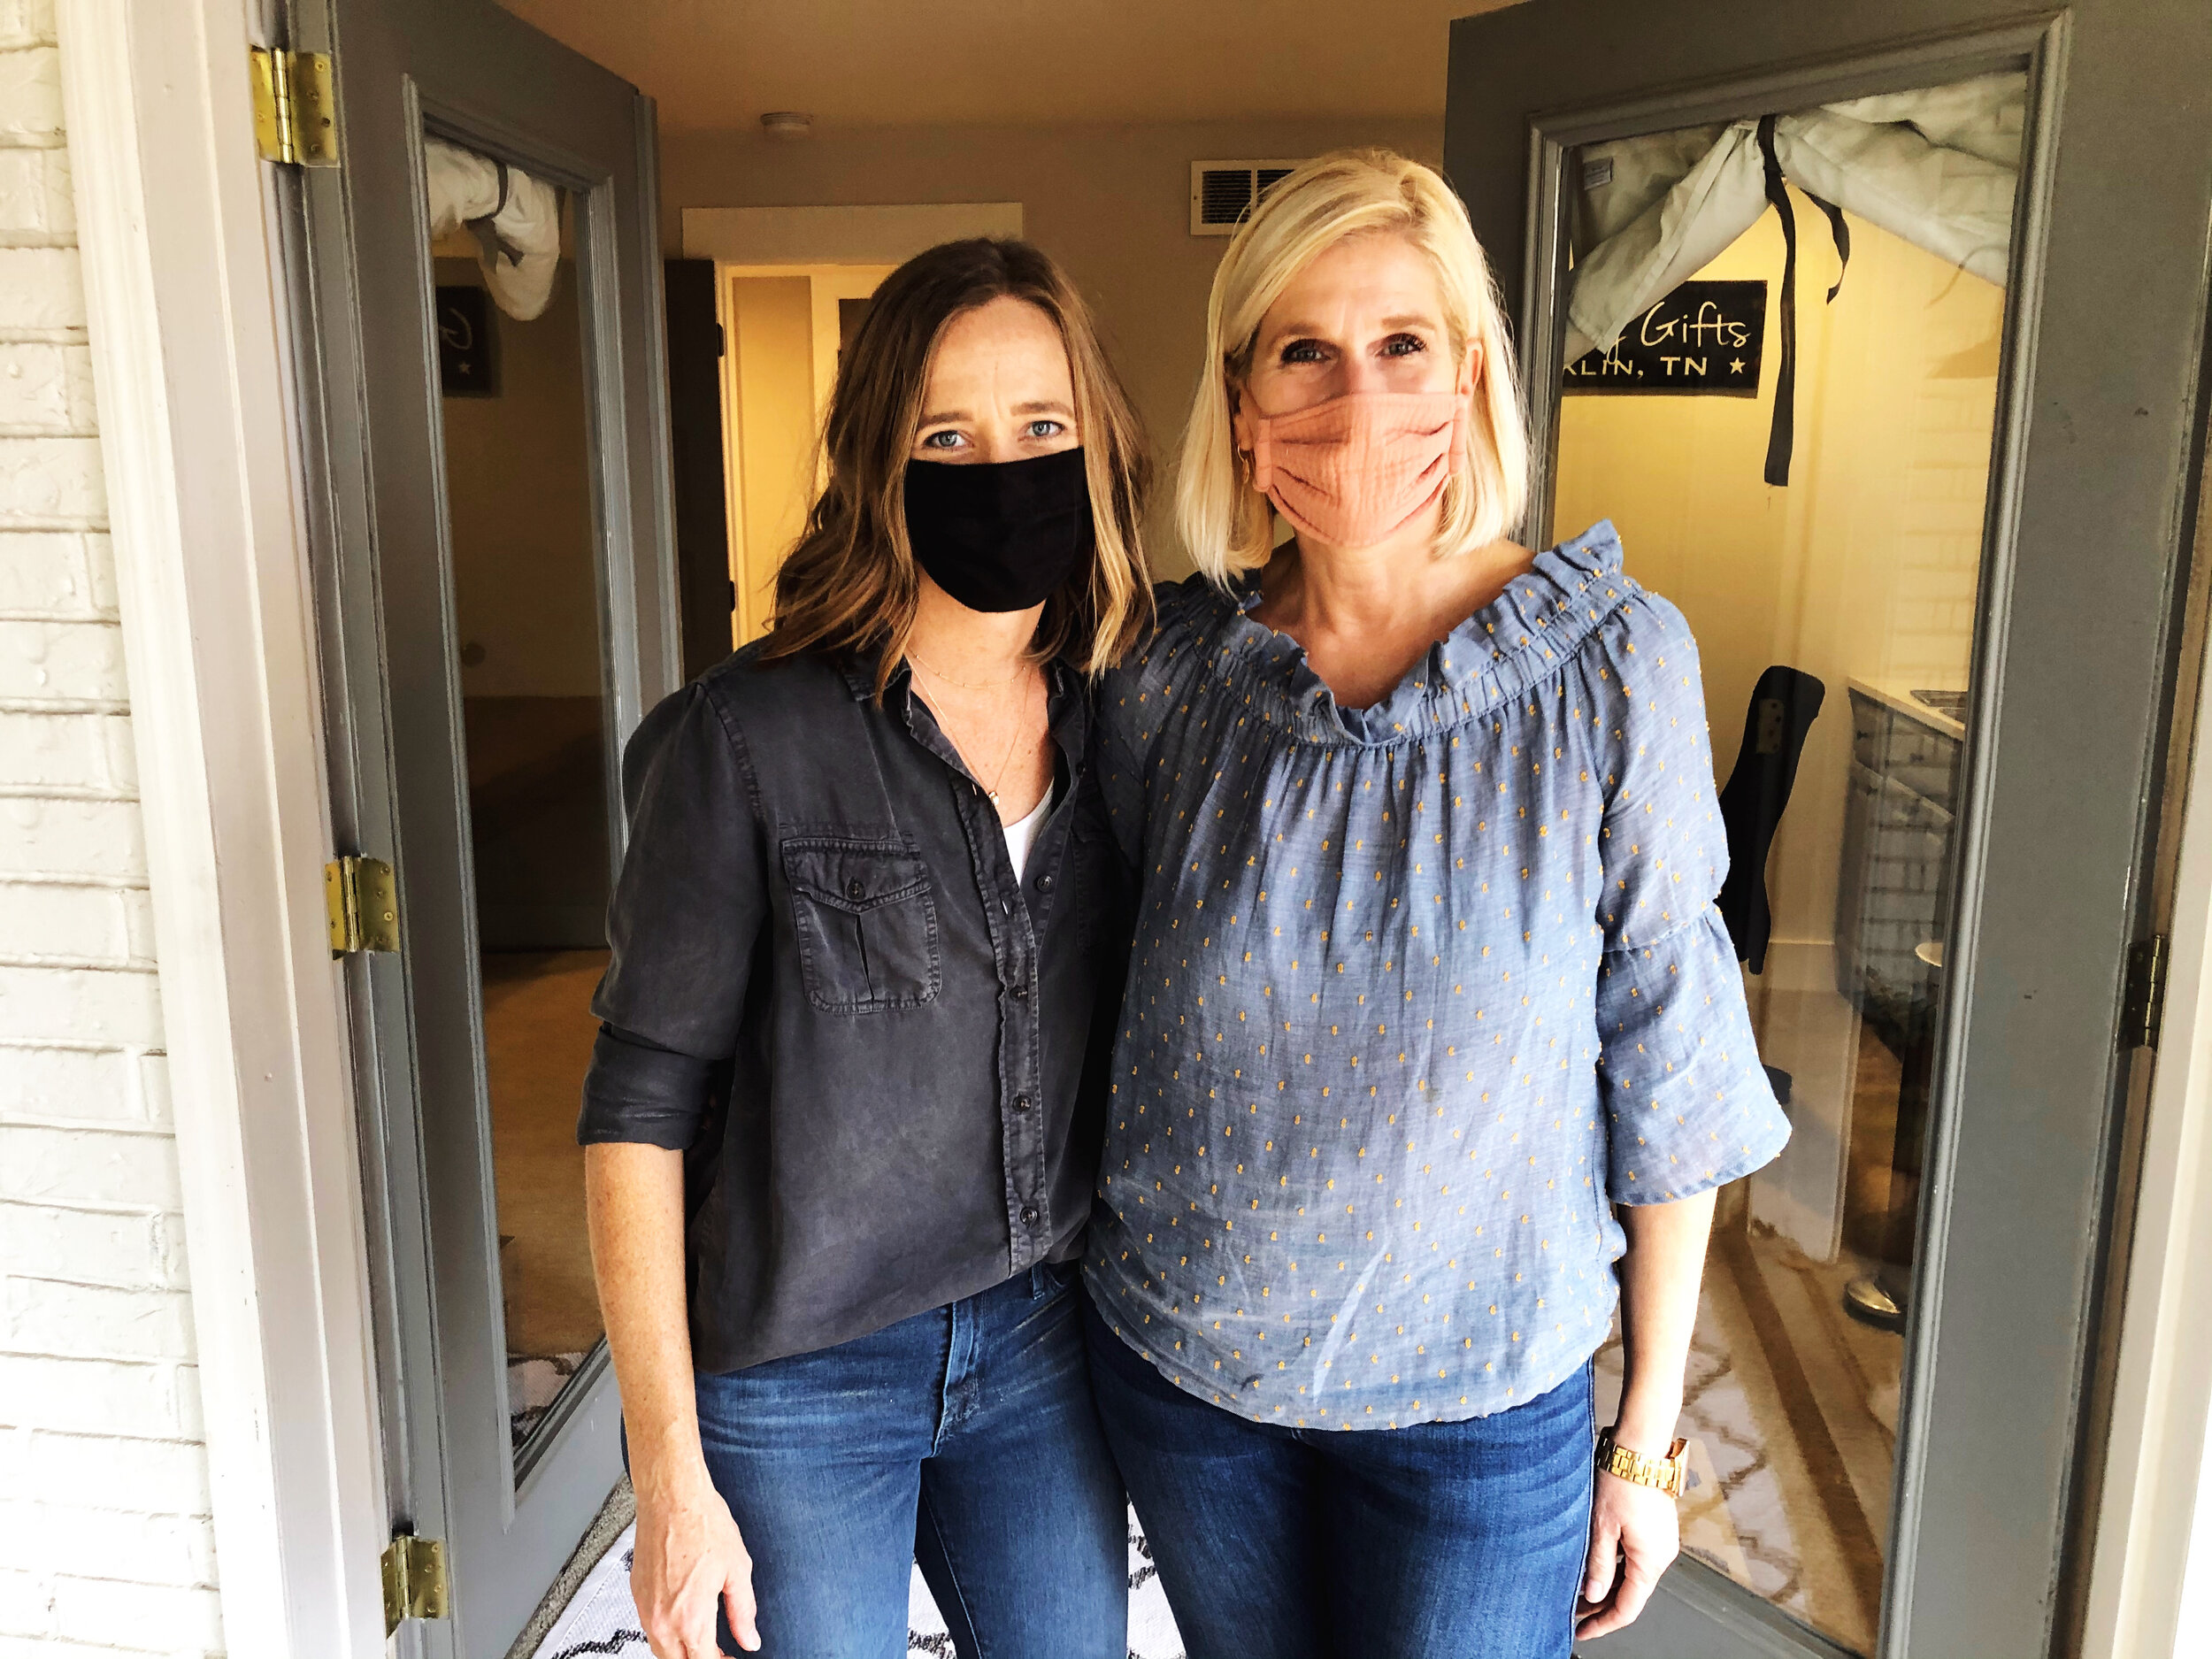
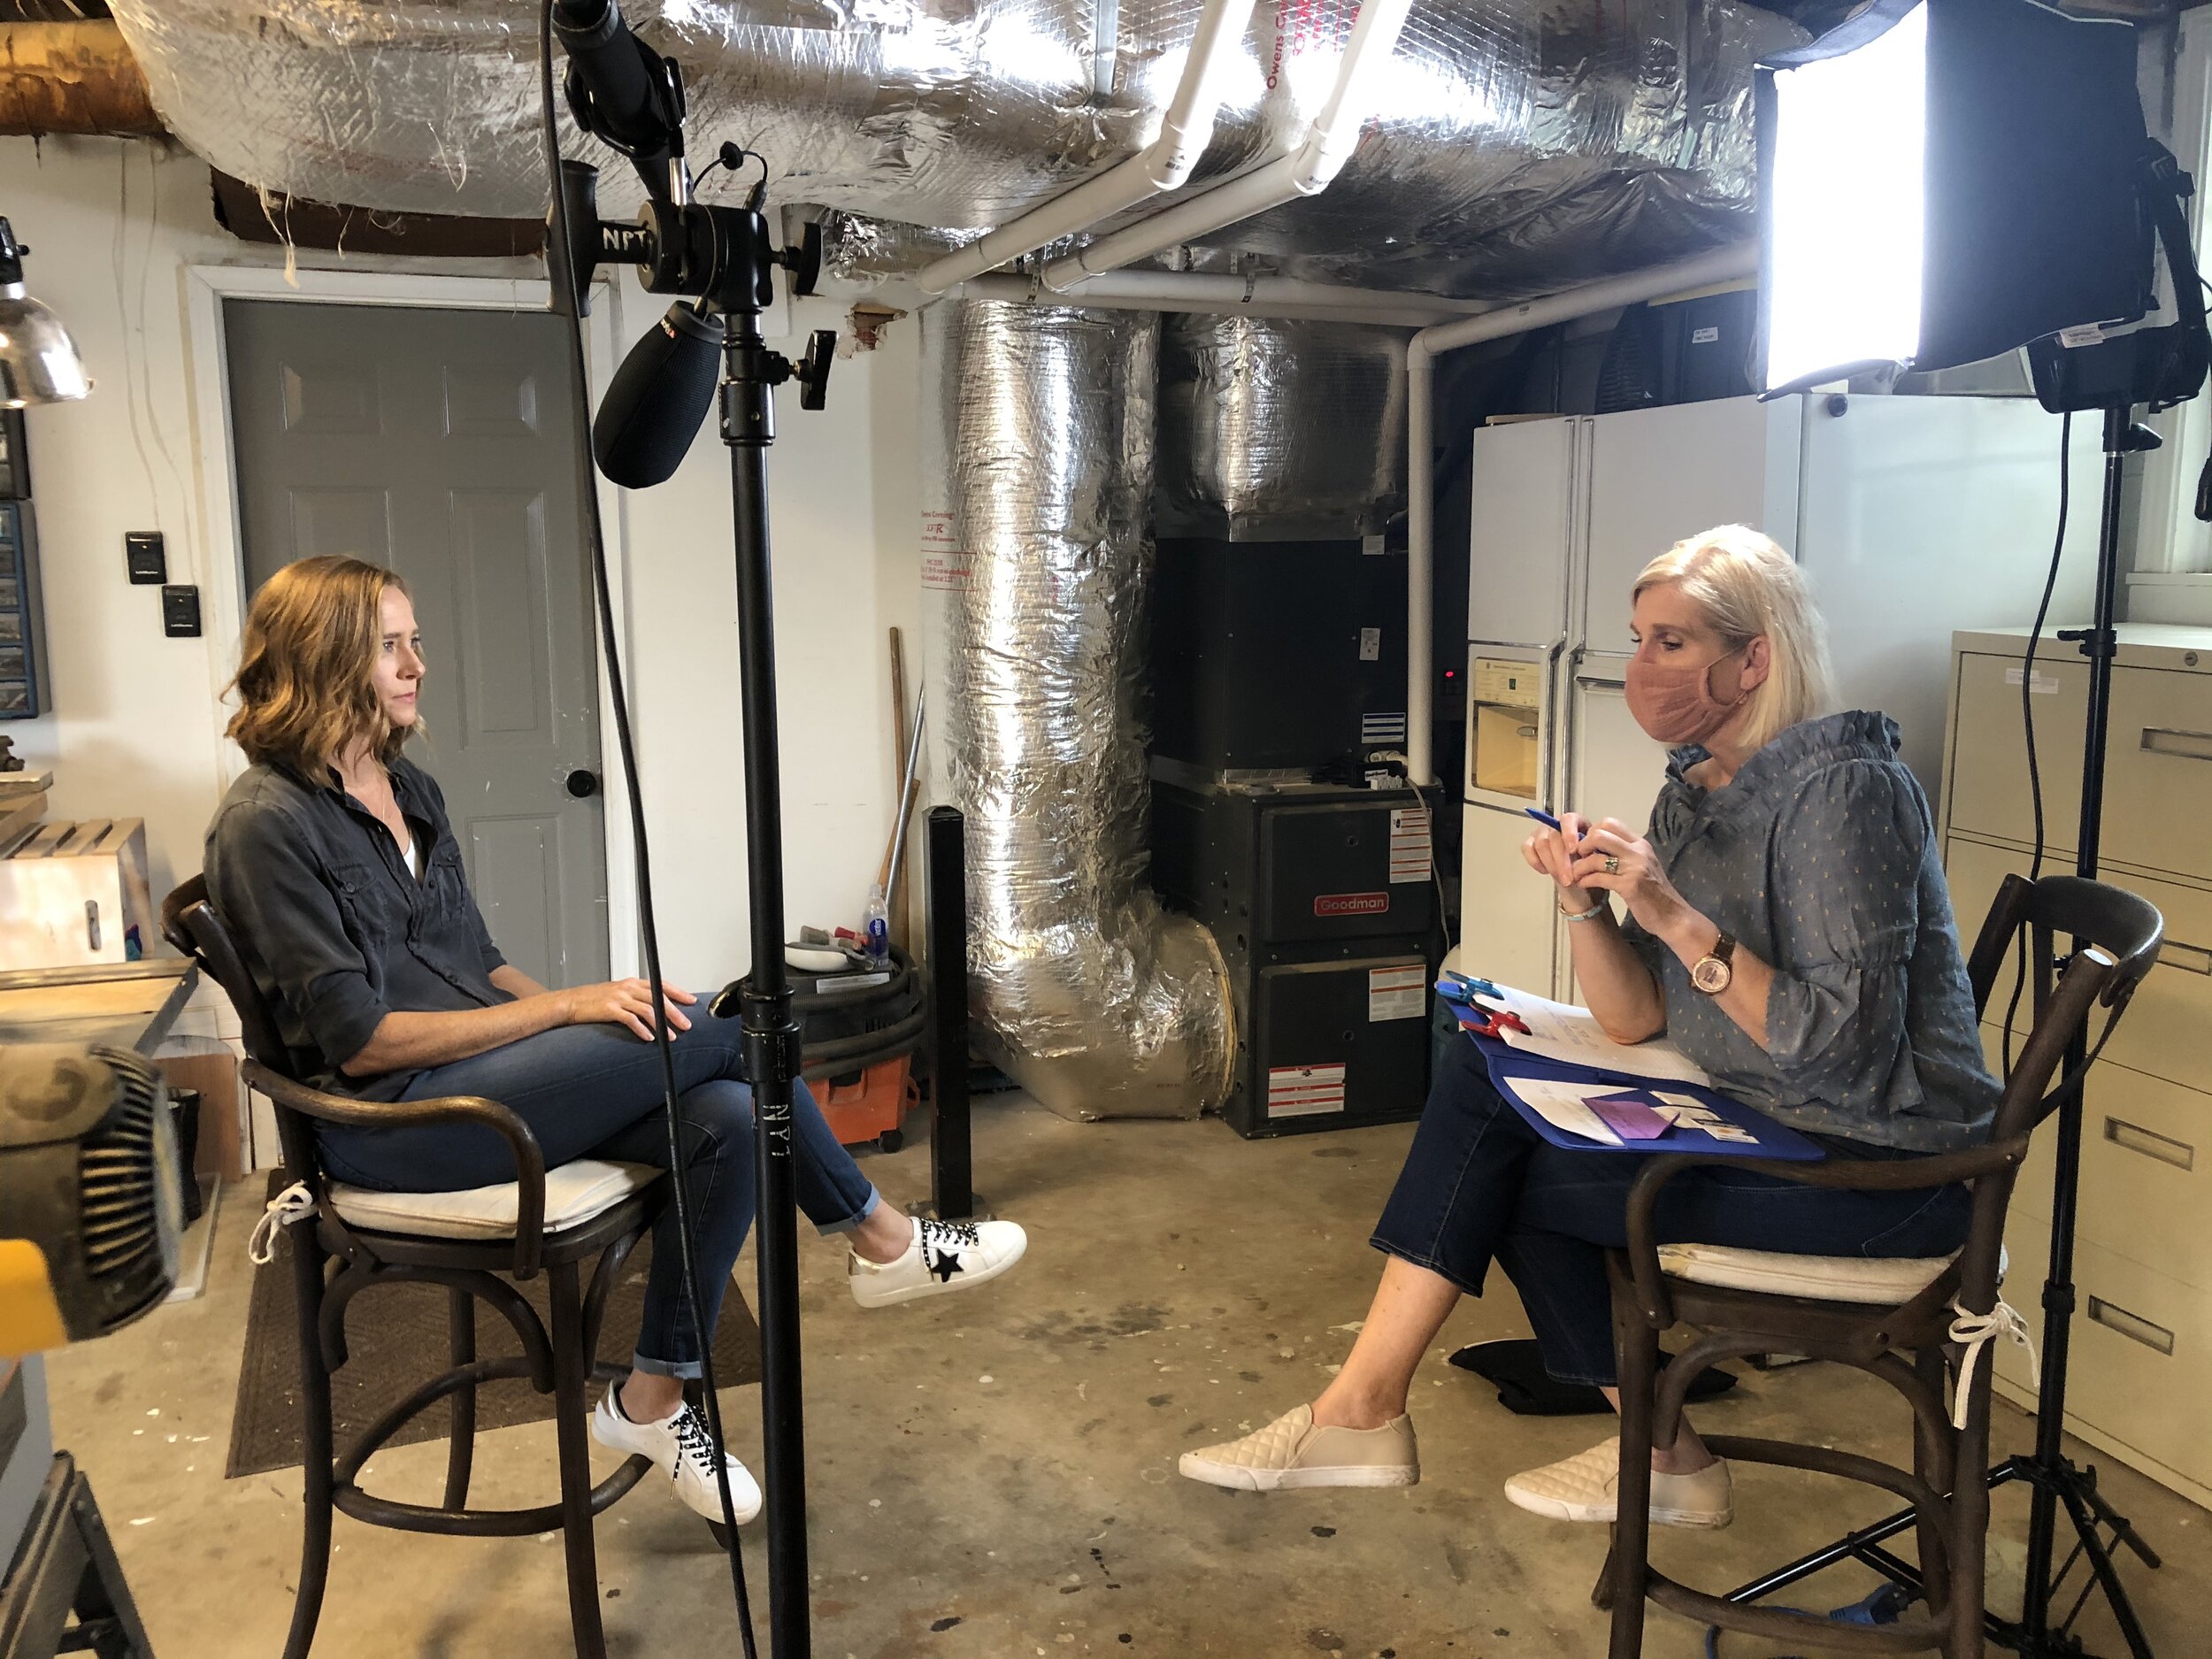
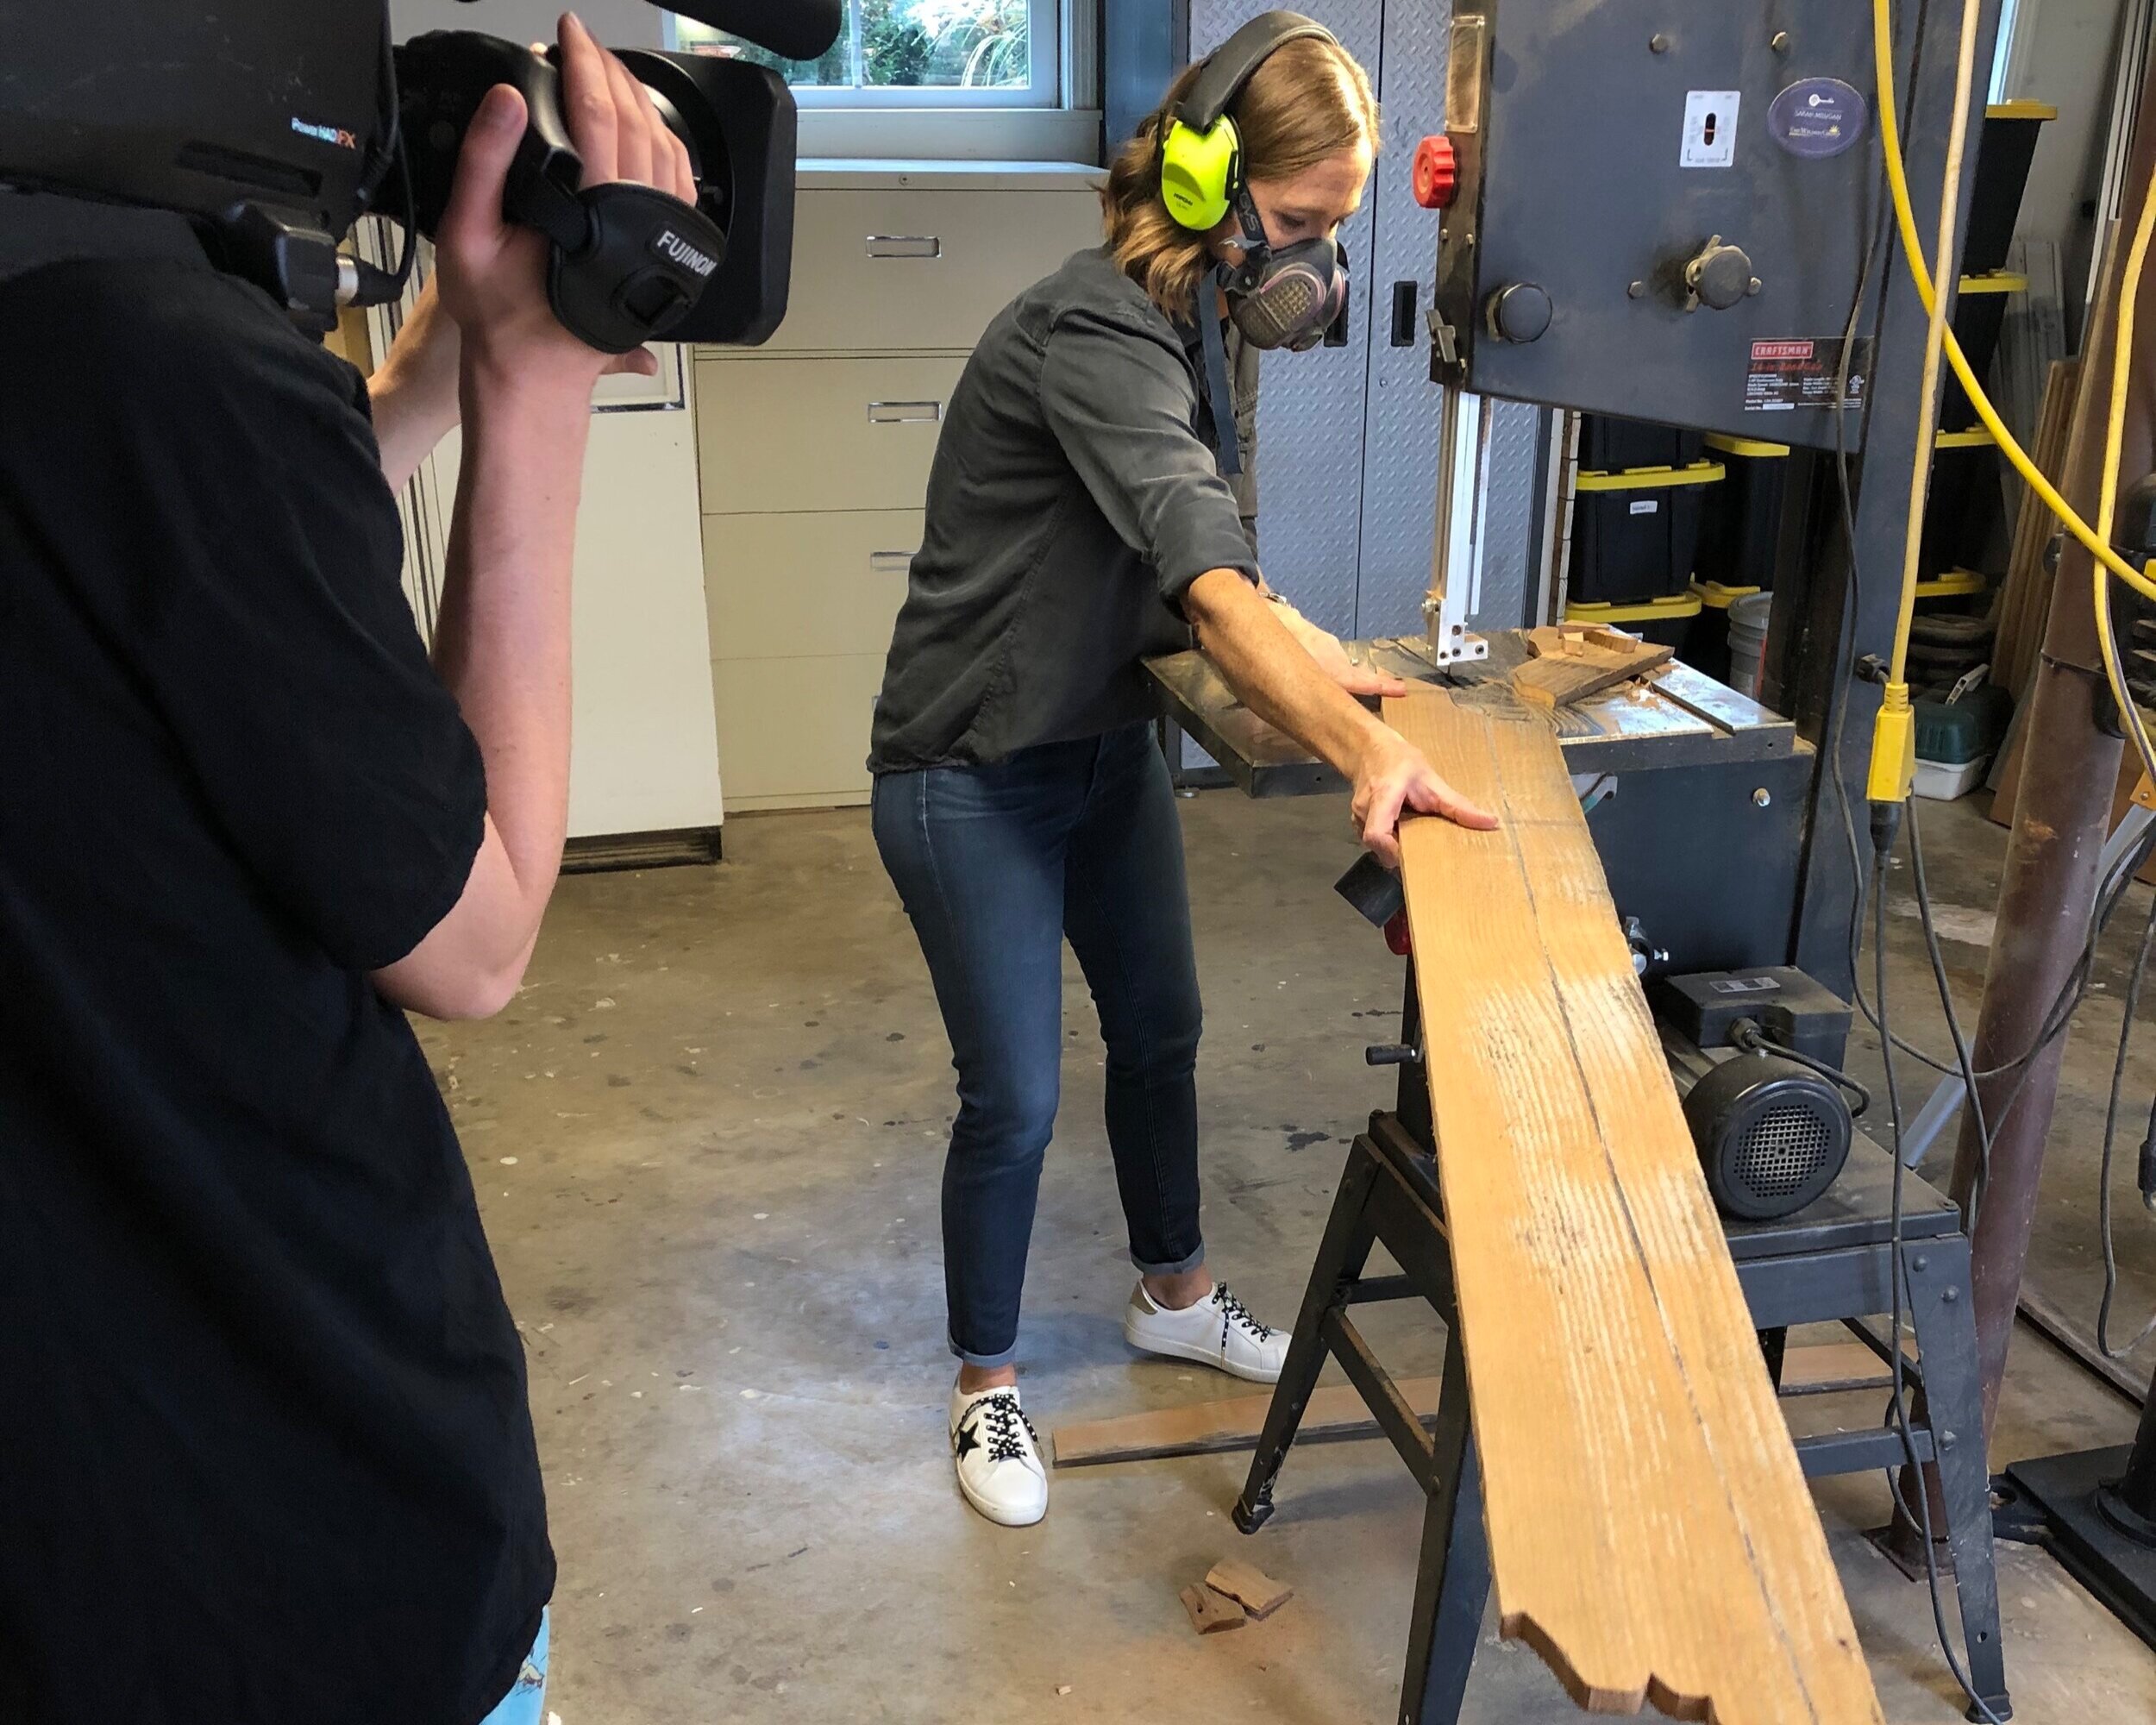
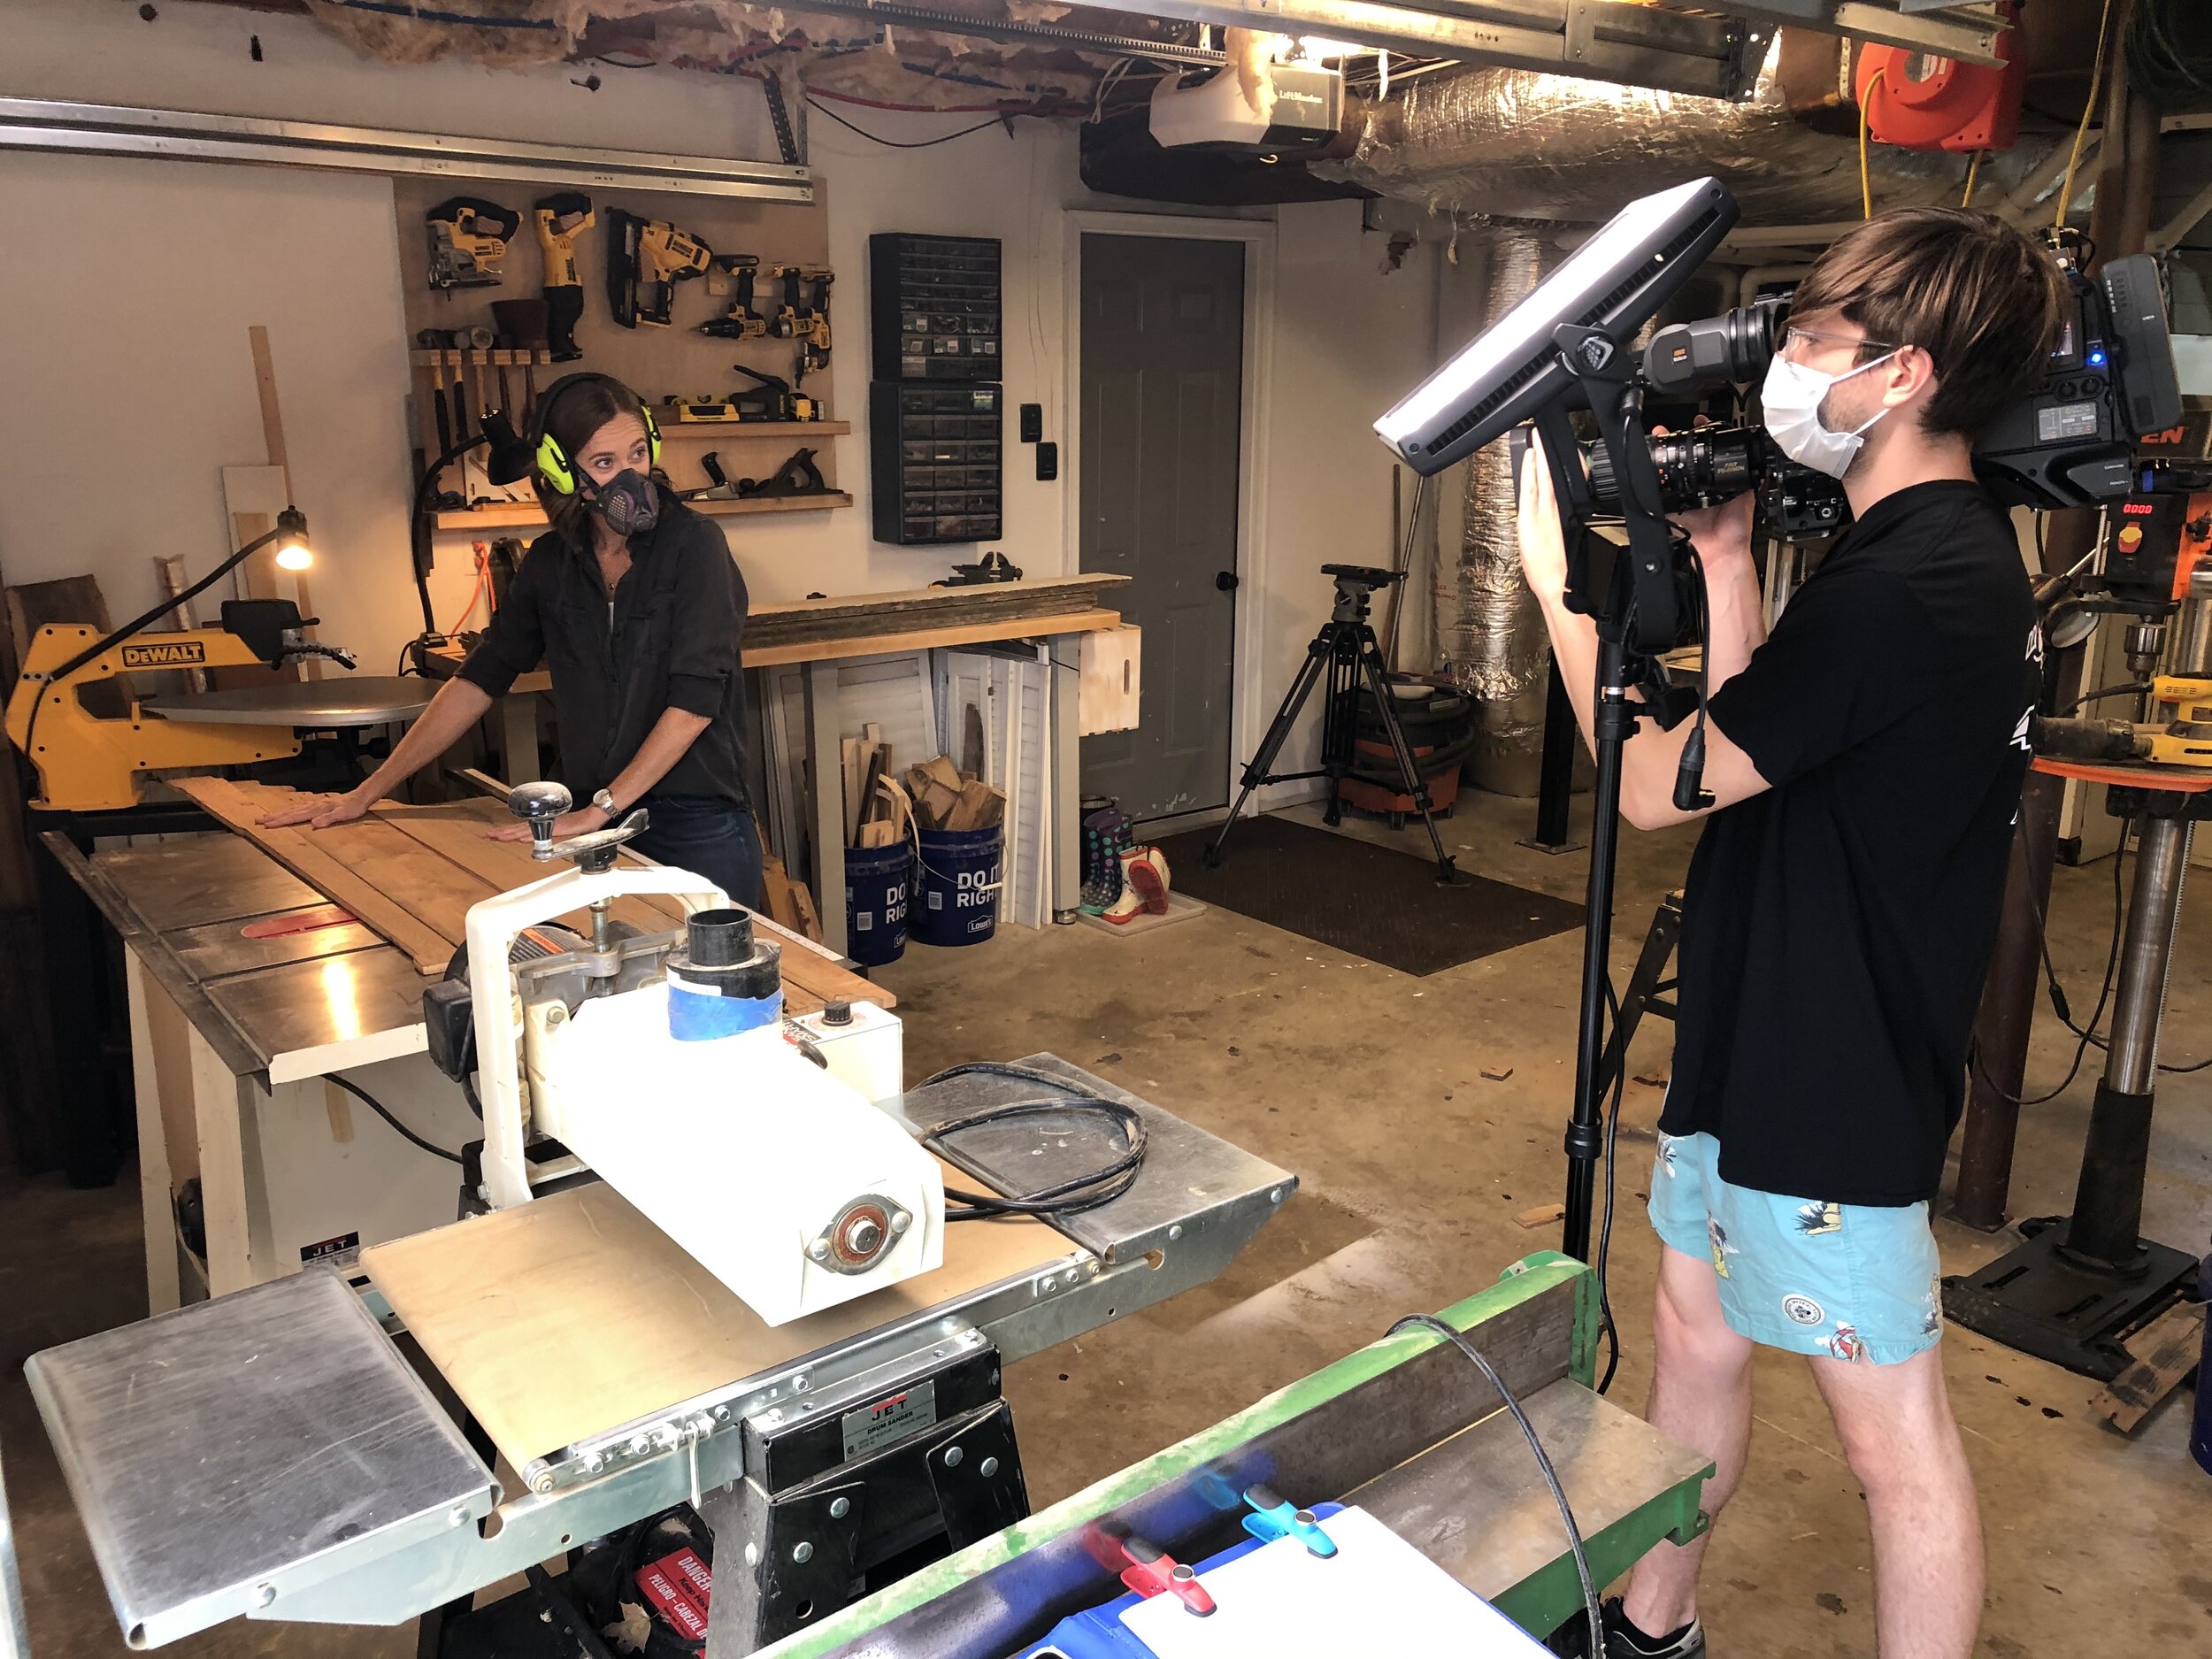
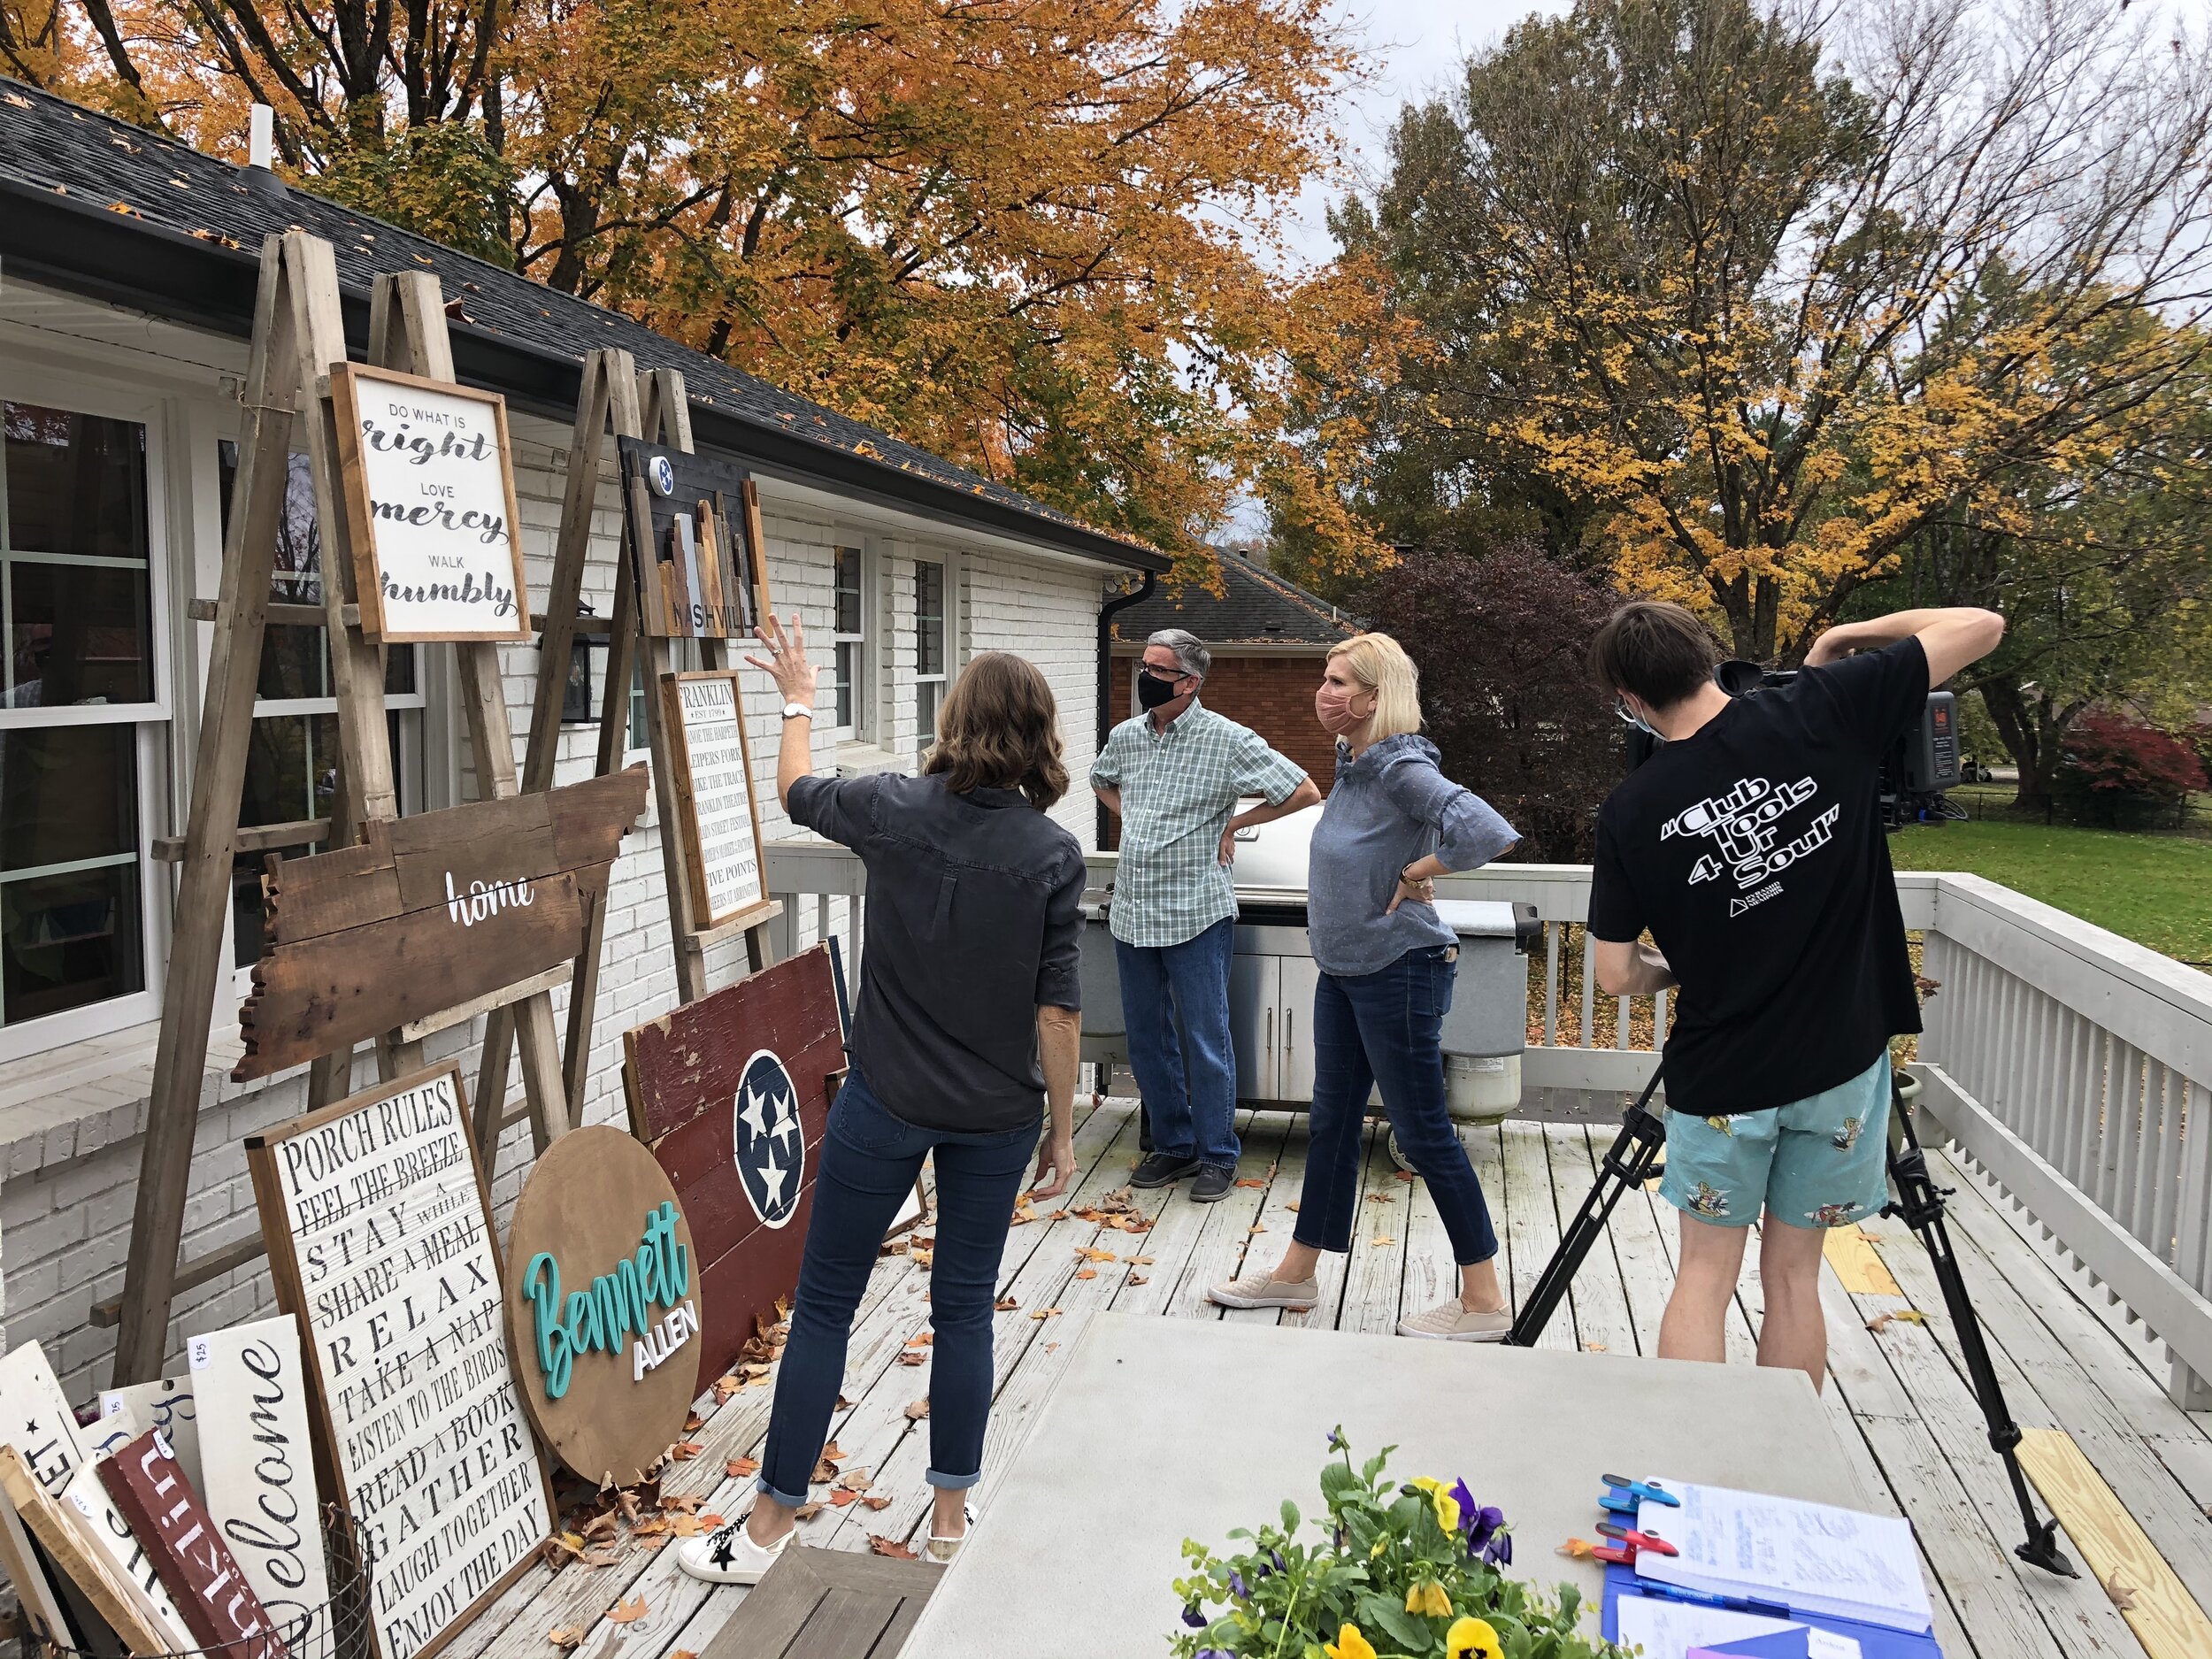
Back in November Laura Faber, Jim and Jason from Tennessee Crossroads came to my home and interviewed me about all things Good Day Gifts. It was such a humbling experience and I definitely felt out of my element. They were all super patient with me and TOMORROW the Episode is AIRING!!! Thursday 3/4/21 I’ll be on Tennessee Crossroads on PBS (WNPT) at 7 pm CST . The schedule shows it will re-air Friday 3/5 at 4 pm. I’m so excited to see what Laura and her team produced. If you are able to tune in, let me know what you think. After it airs I should be able to share a YouTube link for the episode.

Best Gift: Tools


The gift I’m most looking forward to giving this year- a tool bag of his very own tools for my 8 year old boy!
This boy has my heart and my soul he is so sweet, generous, kind and helpful AND he loves working beside me in the garage. Now he can do it with his very own tools! His birthday is next week... I cannot wait!
Yes that’s a lot of yellow and black – I am slightly brand loyal @dewalttough- their tools are well made and they have great customer service. (I recently called Dewalt about a dead battery and messed up tape measure. Without any questions they sent replacements!) Anyways, I think boys are harder to shop for… so Mamas if you’re looking for a gift for your little man who enjoys building and creating this may be the one!
No, I’m not sponsored, but @dewalttough if you’re looking for someone to partner with, I’m your girl! @homedepot

 
ACS_0432.jpg
 

Gallery Wall

This fall we finally put up a gallery wall in our upstairs hall. (Don’t ask if we put pictures in, yet!) Since being married to Josh, our projects have become more involved! They are significantly more precise than my past “run out and get some random frames and put them up” mentality. So, I did more planning and measuring and designing to get Josh on board. We are thrilled with the result!

Here’s what we did…

I made a scaled version of the hallway and inputted scaled frames so I could figure out the right layout using my silhouette program, but I imagine you could use Google sketch up or even your pages/word program.

When putting the frames up on the wall, we started at the center. A laser level, large 2” metal square tool, measuring tape and a DIY template helped get everything spaced evenly (2” to be exact 😉).

Our next gallery wall will be more free form with mixed frames for our bedroom.

(These frames were made by design from @target )

If you need help with a gallery wall layout or install, let me know.

Tool Wall

I did a thing!!! I’m killing myself for not doing this two years ago when we moved in! I’m so happy with it... everything I used to make it I had on hand: 3/4 birch ply backer, 2x4s for shelves, 2x6 for hammer holders, cut 2x4s with bandsaw for custom holders for my bigger tools, and used a 1x4 that I cut a slot out of for a track for the drill hooks. (I did order an extra drill hook online for easier hanging). (That’s a LOT of YELLOW 💛@dewalttough )
I attached most of the tool holders from the back for a cleaner look.
Marked studs on the wall and screwed in the entire piece from the front to mount it to the wall.

Camwood Farm Standards & Panels for Horse Jumps

I think when it was all finished I made a total of 8 standards and several panel boards for this incredible project. It all started one afternoon when I was working in the garage. Someone drove past our house and then came back with her window down and yelled, “ You’re that girl, aren’t you?!” She proceeded to ask me about some previous projects that I had done for a friend of hers. On the spot she had a proposal for me and asked if we could work together to make some unique horse jumps for her new farm and for her horse shows at Brownland. What an incredible opportunity and HUGE undertaking!

As with any project, I did some research and together we came up with some designs. After some back and forth, I got to work. It was a lot of learn-as-you-go. But through the process, I learned about rabbit cuts, used my first paint sprayer, and did some cool bandsaw cuts to soften the edges on it. The first standard I made weighed a ton! After that, we simplified the design to make them a little lighter for easier transporting.

I am so thankful that Camille took a chance with me and allowed me to make these for her.

DIY Yardstick Christmas Tree, as seen in Franklin Lifestyle Magazine

1. Make base triangle whatever size you want. Cut sticks to length with hack saw or miter saw. Hot glue base together or use wood glue. 

2. Lay out yardsticks as you want on the base frame and mark cuts. 

3. Cut to length.

4. Paint as you wish. 

5. Glue separate pieces to base.

The following is optional-

6. Add stencil painted letters, if you want.

7. Sand it with fine sandpaper using vertical strokes.

8. Add a white wash by only using a little white paint well spread out onto a chip brush. Apply with vertical swipes of the brush.

So many ways to make this unique. It's ready to hang on your door with a 3M hook. Place it on your mantle with your other holiday decor, or hang it on a nail in the wall. Another option would be to add a yardstick cut to a point to the back of the piece to put it in your yard or next to your door.

Check out the article here.

5th Anniversary Gift

In the wake of this contemptuous night, I thought I would share a heartwarming story from a recent client. In September a gentleman reached out to me about creating a custom piece for his wife for their Fifth Anniversary. (The traditional gift for a Fifth Anniversary is wood!) So, thoughtful!

His idea was to create two pieces that fit together, but could also be displayed apart. He wanted the state of Kentucky and Tennessee made. Currently his wife lives in Kentucky and he lives here in Tennessee. They look forward to one day when they will finally be able to connect their puzzle pieces and lives more fully under one roof. It was an honor to be apart of this story. 

IMG_4177.jpeg

Franklin Lifestyle Article

I'm honored to have a writeup in the current issue of the Franklin Lifestyle magazine! Christy Shaterian came over a couple months ago and took some sweet pictures of our family for the article. She is so talented- check her out: http://www.christyshaterianphotography.com . It has been so much fun to be involved with the Franklin Lifestyle magazine.

Fall Mantel in 10 minutes!

I know it's still in the 90's, but we can always pretend! In the fall, I love to decorate my mantle and dining room table tray with magnolia leaves cut from our front yard. Hedge apples/Osage Orange  balls are also a beautiful way to bring in bright green color. Never-the-less, the front yard convenience (or maybe your neighbor's yard) cannot be beat. Just throw them in behind your pieces. I added a few leaves across the front and magnolia fruit to bring in more dimension. Took about 10 minutes. Some fresh Mondial Roses (white with a hint of green) from Publix pull it all together. What's your favorite thing to use for your fall decor?

Ready for Fall

Josh and I spent the last four months working in our backyard to build this deck, patio and fire pit area by ourselves- it was no small feat with the help of lots of borrowed tools. We can't wait to spend this fall roasting marshmallows, drinking wine, playing games and enjoying nice meals in our backyard with friends and family.

Check out the mulberry stumps! Josh did all the design and layout... next step is grass and a built in grill and granite counter.

What are you most looking forward to this fall?